Oh goodie! *smacks a cardboard box on the table*
First of all, we have these little pixel things which originally were going to rain from the top of the screen where the stars are raining right now on my site but I ended up scrapping it because it didn't look that good. Credit
Dokode.moe (they have even more than just these but these are just the ones I saved)


Next, we have this very HQ, high res Navi from Ocarina of Time (
snatched from the Zelda Wiki), which originally was also intended to be floating on the index screen in the corner until I decided to remove it because it looked a bit weird and it's spot was then replaced by the dancing Minecraft parrot on there today.

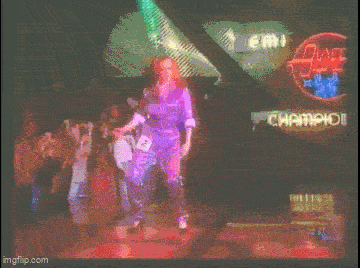
Next, we have some lovely dancing gifs of varying origin. The first was intended to also go on the homepage, like everything I have done so far. Removed it though because it looked a bit too goofy and tacky. I believe I got it from the 99cent gif shop (though I went back there recently and I couldn't find it). The other I found when I was looking around on Gifcities for Urusei Yatsura stuff since I was watching the anime and wanted to see what fansites were around at the time, searching by keywords (there were a few, but none of them really that well archived unfortunantely or very incomplete). This is one of the few versions of the same gif that keeps the timing of the part it was traced from.


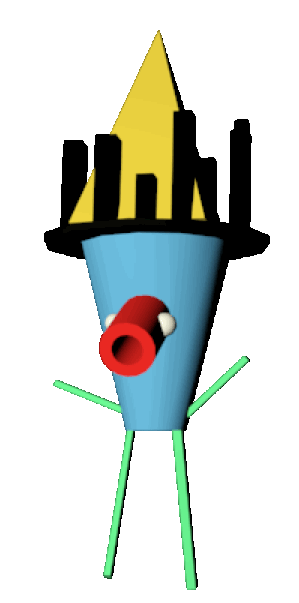
And finally, a very stately addition for any VPet enthusiast, this Pocket Pikachu. I have no idea where I found this, actually (I think it was just from browsing gifcities?). This used to be on my site, on Version 2 on my About Me page. But then when I completely redid the site it was moved off since there was nowhere else to put it and I still haven't figured out where else it should go lol.

Thats all I have right now. But knowing me, I'll probably collect more so I'll upload them here when I do find some I don't know what to do with.


 Posts & Arts: 6/1k.beats
 Thank you for today!

 Author


